
Network manager playbook
The sections a network manager works in, the day-to-day loop across both sides of the marketplace, and how to onboard users and share the right advertisers and sites with them.
A network manager runs the marketplace day to day. You hold both sides of it — the publishers’ sites, zones and placements, and the advertisers’ campaigns and banners — you connect the two, you onboard the people who work on each side, and you read the numbers that come back.
Publishers and advertisers can only share what they own and create statistics accounts for their own entities. You do both network-wide.
Where you work
What you see is set by the role your network administrator built, so your tab strip may differ from the one below. A typical network manager works in:
- Dashboard — your own widgets over the period you pick.
- Publishers — the supply tree: sites, zones and placements.
- Header Bidding — header-bidding tags, one per site.
- Advertisers — the demand tree: advertisers, campaigns and banners.
- Analytics — delivery and revenue reports, saved and scheduled.
- AI assistant — the in-product assistant, when it is switched on for your network.
- Conversion Actions — the actions campaigns count conversions against.
- Shares — who reaches which advertiser or site.
- Users — the network’s accounts.
- Preferences — your own notifications and sharing defaults.
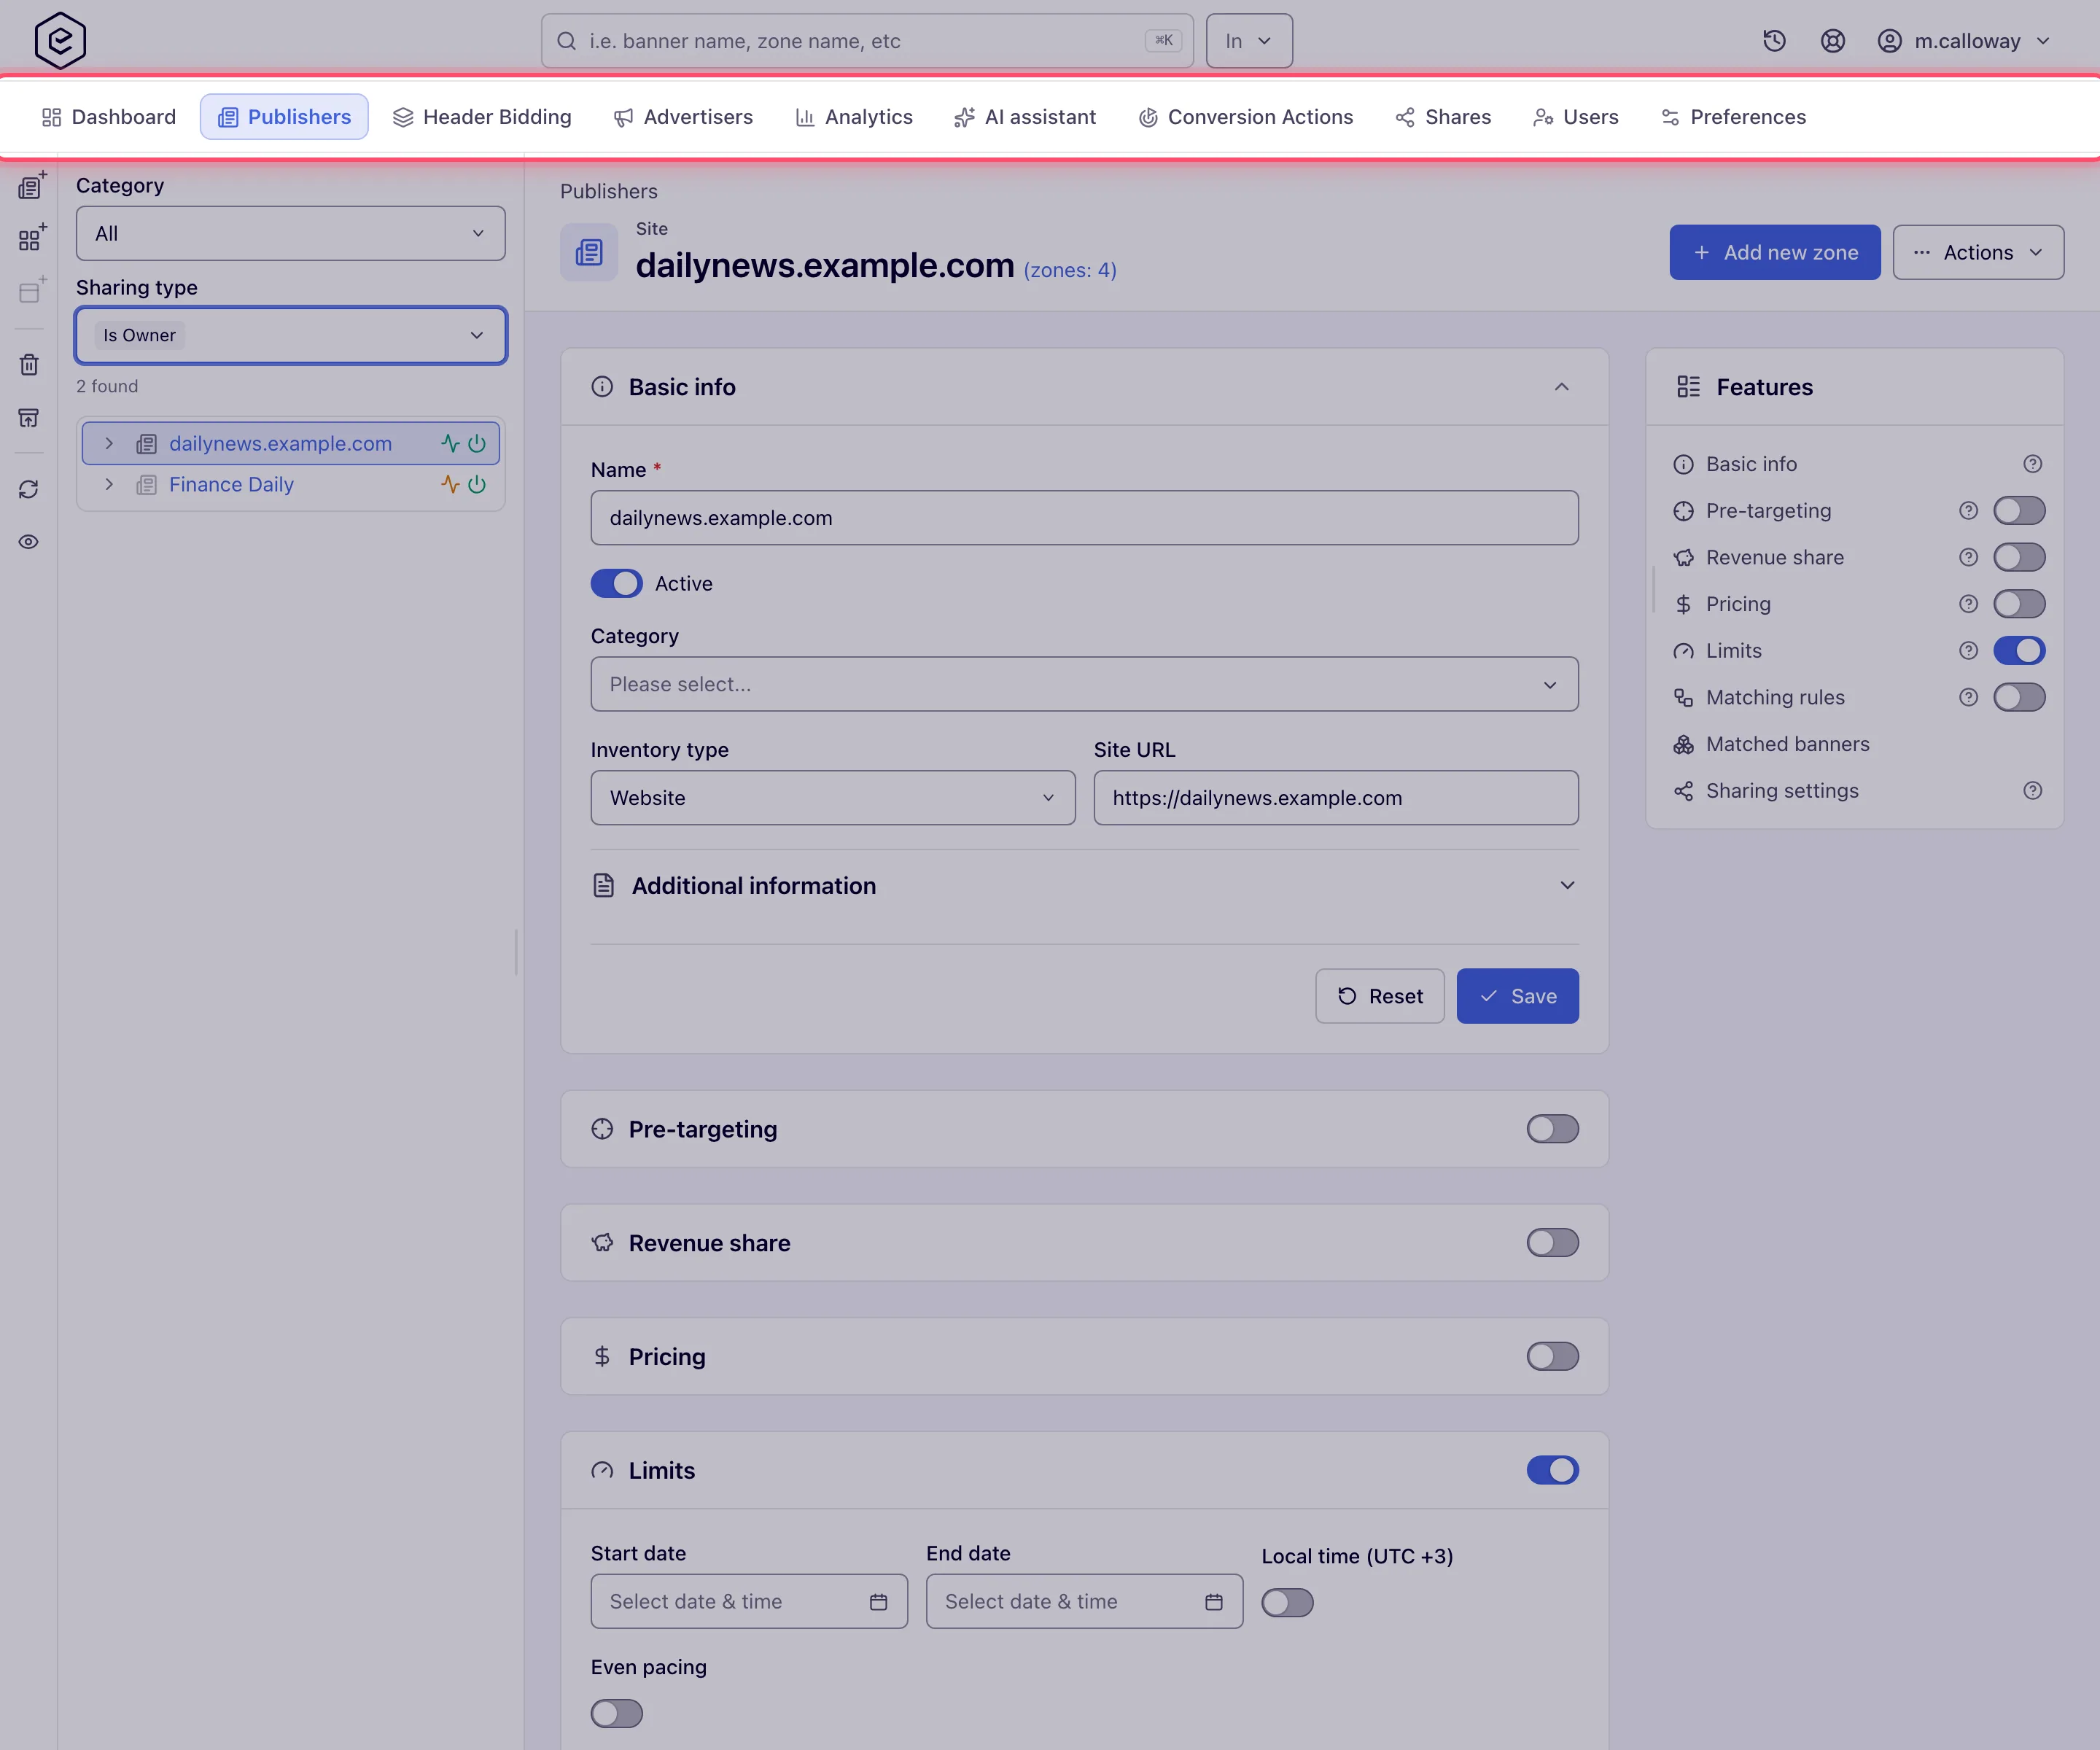
Templates, Media Library, Traffic Quality, RTB, Pending sites, Pending banners, Billing and Referral program appear only if your role is granted them. If you need one, ask the administrator who manages roles; Roles, permissions, and sharing explains how tabs are granted.
A typical day
- Dashboard — scan yesterday’s numbers. See Dashboards.
- Advertisers and Publishers — create campaigns and banners, cut new placements, and link demand to inventory.
- Header Bidding — check the slots and settings of sites selling through Prebid.
- Analytics — run delivery and revenue reports and schedule the recurring ones.
- Users and Shares — onboard new publishers and advertisers.
Run the supply side
Use New site on the rail beside the Publishers tree, Add new zone on a site, and Add new placement… on a zone. The placement is where the ad tag lives; hand it to the publisher from the placement’s Ad tags & API card.
| Task | Guide |
|---|---|
| Add a site | Sites |
| Cut a new placement | Create placements |
| Hand a publisher their tag | Ad tags & API |
| Put a site into header bidding | Header bidding |
| Block categories or advertisers on inventory | Pretargeting and blocking |
Run the demand side
Use Add new campaign on an advertiser and Add new banner on a campaign. A campaign’s Actions menu carries Mass banner upload, Copy this campaign and Run diagnostics.
| Task | Guide |
|---|---|
| Launch a campaign | Campaigns |
| Load creatives in bulk | Bulk banner operations |
| Narrow who a campaign reaches | Add targeting |
| Cap delivery | Frequency capping, Limits |
| Track conversions | Conversion actions |
Connect the two
Trafficking is linking banners to placements. Link them directly from either side, let rules match them by criteria, or use the tree clipboard to copy, move and link in bulk. See Hierarchy and linking.
Stock publishers and advertisers cannot link or unlink at all — the linking cards are not on their pages — so links for them come from you or from the network’s rules. When a banner or placement is not serving, start with Ad not serving.
Onboard a user
- Open Account → Users and create the account with its contact details.
- Pick the Role that matches the job. The role decides which sections the user lands in and what they can change. The list offers only the roles you may hand out.
- Share the right sites or advertisers with them (next section). Until you do, a new publisher or advertiser sees only what they create themselves.
See Manage account users.
To see exactly what a user sees, select their row and click Switch. You continue in their session; choose Exit user in the user menu to return. Switch is offered only for active users, and only if your role may access users of that role.
Note: Exit user returns you to the start of the account area, not to the page you left. Open Users again to carry on.
Share the right advertisers and sites
Account → Shares has two independent sides: Inventory sharing (sites) and Advertisers sharing (advertisers, with every campaign and banner under them). Each share is at one level:
| Level | What the user can do |
|---|---|
| Is Owner | Treat it as theirs — read, edit, delete and re-share it |
| Can Edit | Read and change it, but not delete it |
| Can View | Open and read it; nothing can be changed |
A share sits on the advertiser or the site; everything below inherits it. There is no separate share for a campaign, banner, zone or placement. See Shares.
Note: a Can View share makes the entity read-only for whoever holds it, including you. The share level wins over your own broader access; raise it to Can Edit to work on it.
To give someone figures for a single site or advertiser and nothing else, use Actions → Create user & share on that entity. It creates a statistics account with a Can View share and e-mails an invitation.
Placeholder names
If your role has inventory or campaign masking, entities you do not hold as Is Owner show as
placeholders such as SITE_4 or ADVERTISER_45 across every tree and grid. A whole tree of
generated names is masking, not a fault. Masking changes only the name; what you may edit still
follows the share level. See Sharing & permission model.