Quick start: launch a campaign as an advertiser
Advertiser-role walkthrough — create a campaign and a creative, set pricing, flight dates and targeting, get the creative linked, and read your spend and results.
As an advertiser you own the demand side: campaigns and creatives under your advertiser account. This tutorial creates a campaign, sets its price, flight dates and targeting, uploads a creative, checks it with diagnostics and shows where to read the results. Where your ads actually run is decided by the network, which links your creatives to its placements.
Who this is for
Anyone running campaigns on the stock Advertiser role. It opens six tabs: Dashboard, Advertisers, Analytics, Conversion Actions, Templates and Preferences. Your network can add or remove cards and options; what the stock role includes, and what it leaves to your network manager, is listed in What your network controls.
Prerequisites
- An advertiser account on the network.
- An image creative in the size of the slots you are buying (for example 300×250).
- The price and flight dates agreed with your network.
Steps
- Go to Account → Advertisers. Open your advertiser, or create one with New advertiser on the rail beside the tree. Click Add new campaign.
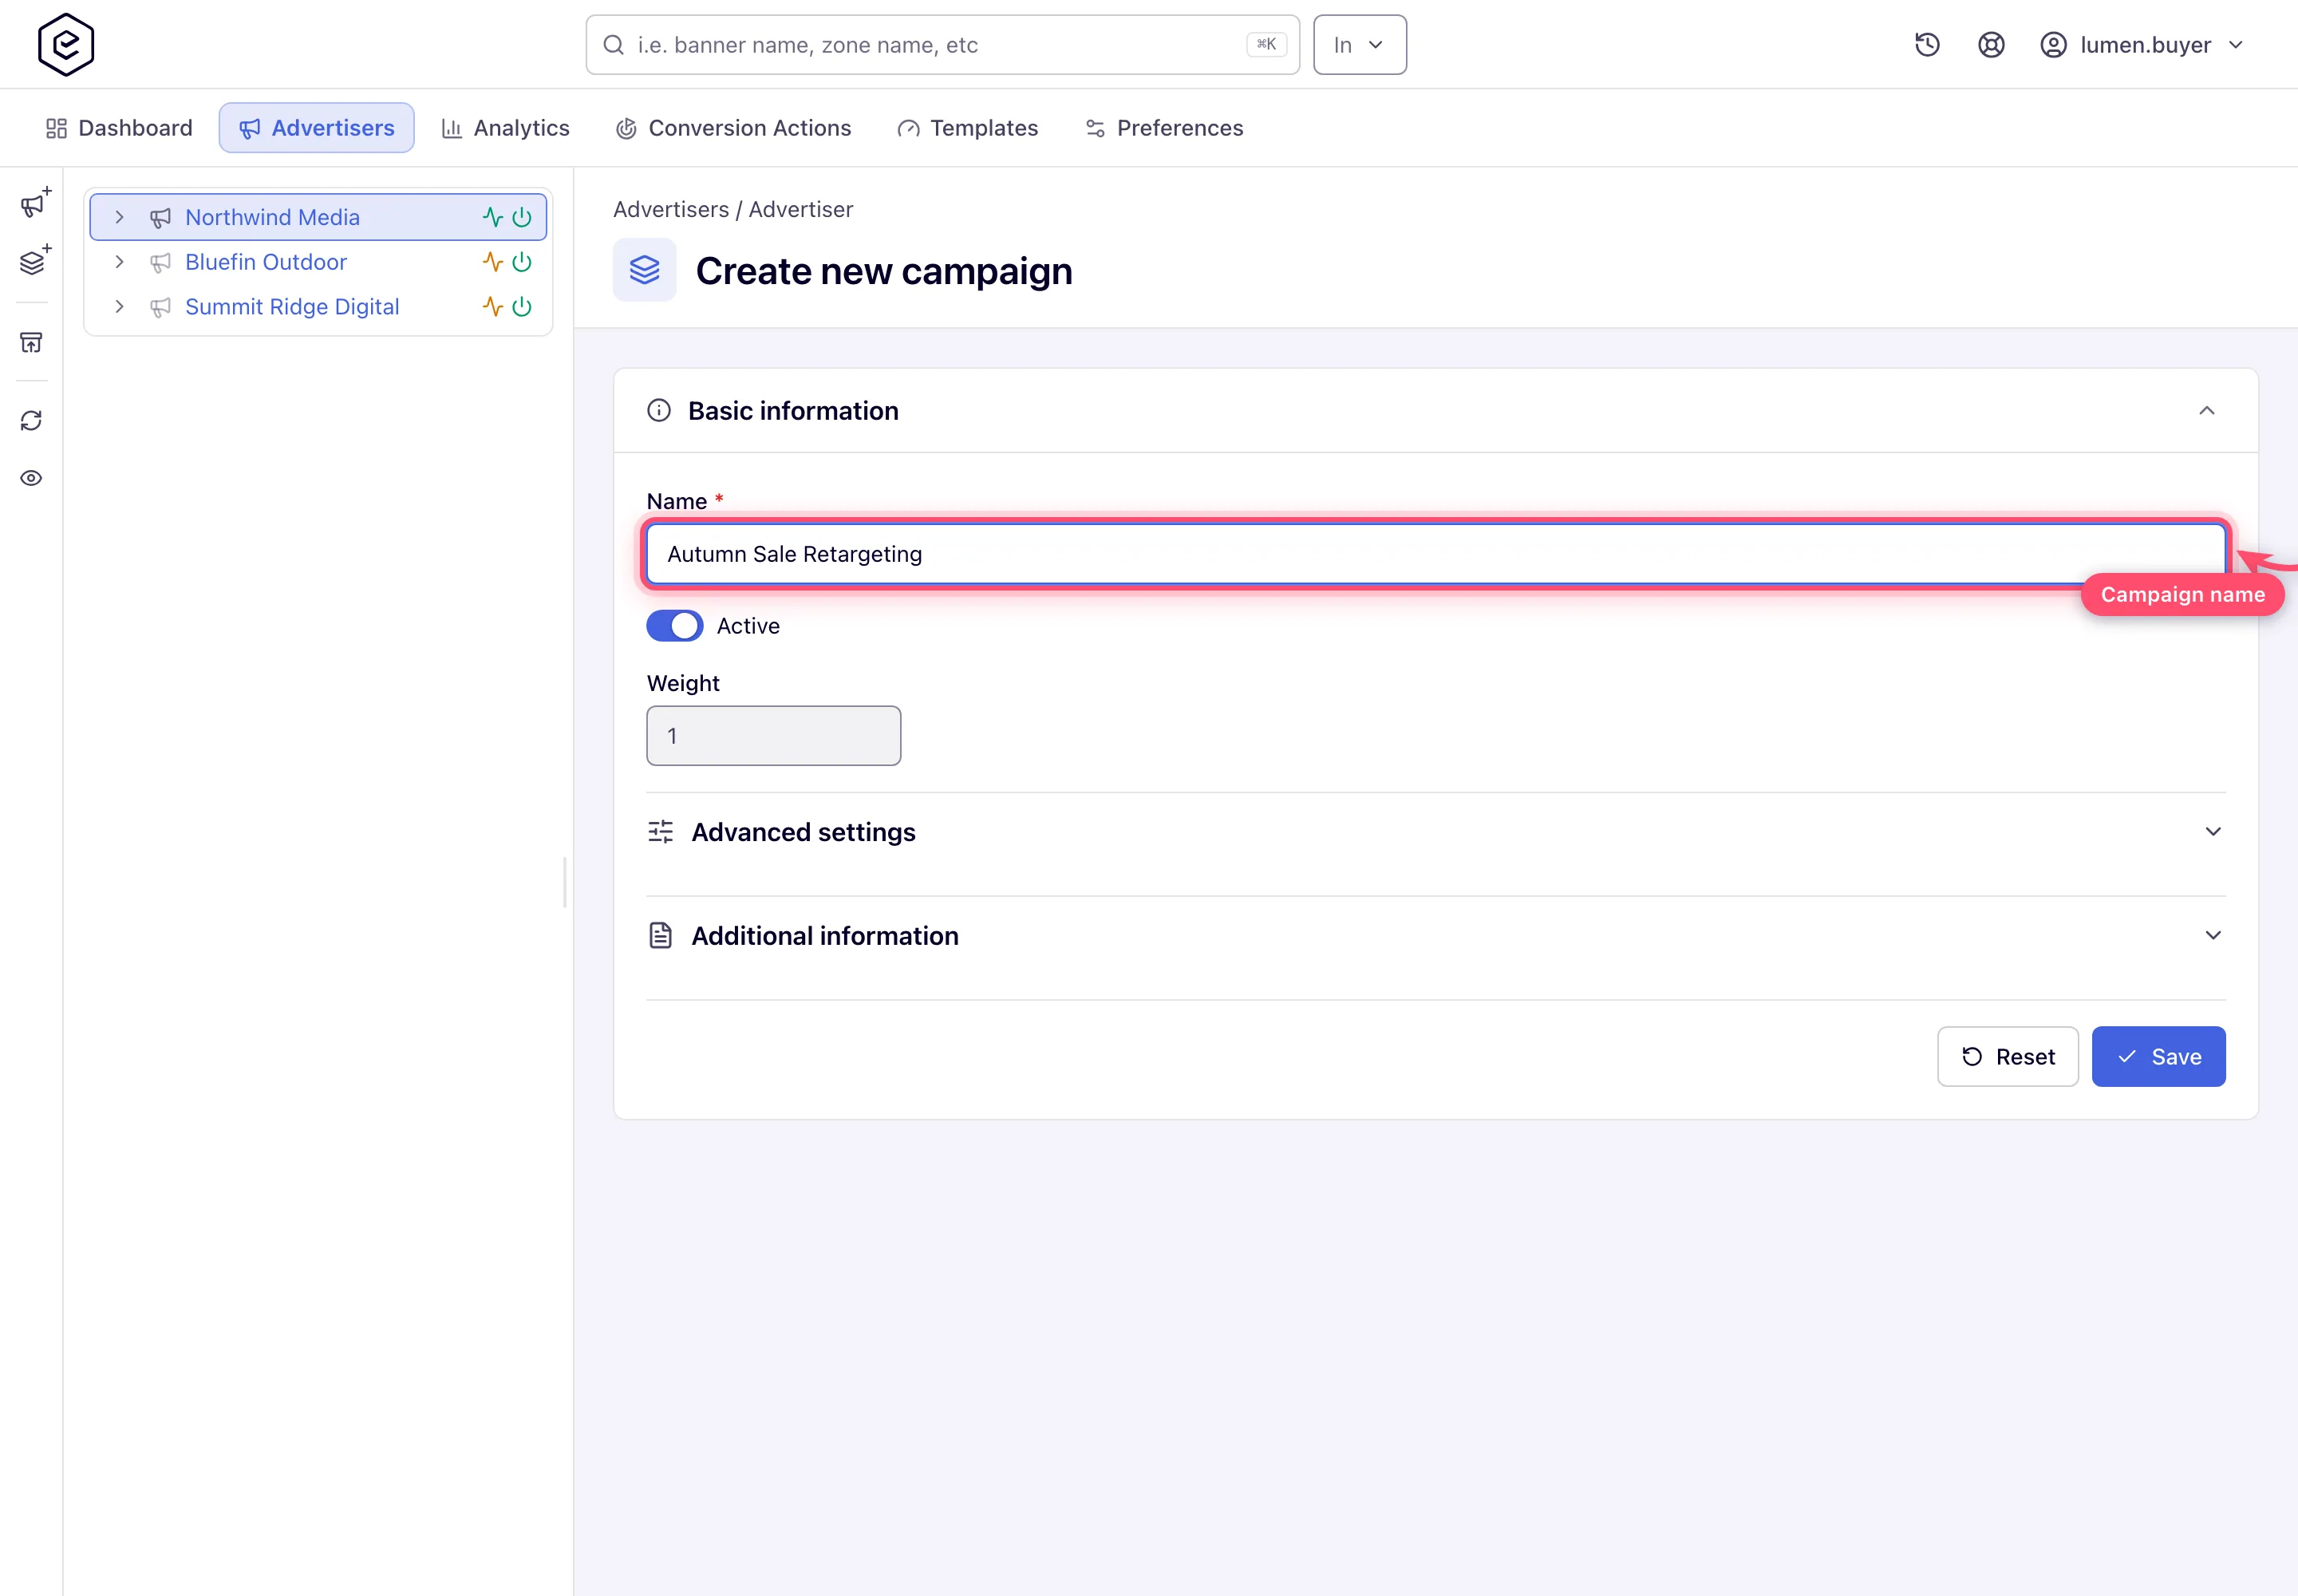
- Fill in Name and keep the campaign Active. Weight is shown greyed out: the stock role
cannot change it. Click Save. Success: “Campaign saved”, and the campaign page opens with
all its cards.
- Set the commercial terms in the Pricing card: switch the card on, pick the Pricing type (CPM or CPC) and enter the rate agreed with the network in the Price column — the Global row, or a row per Country with Add. See Pricing.
- Set the flight in the Limits card: Start date and End date. The Budget rows on
the same card are read-only for you; your network manager sets them.
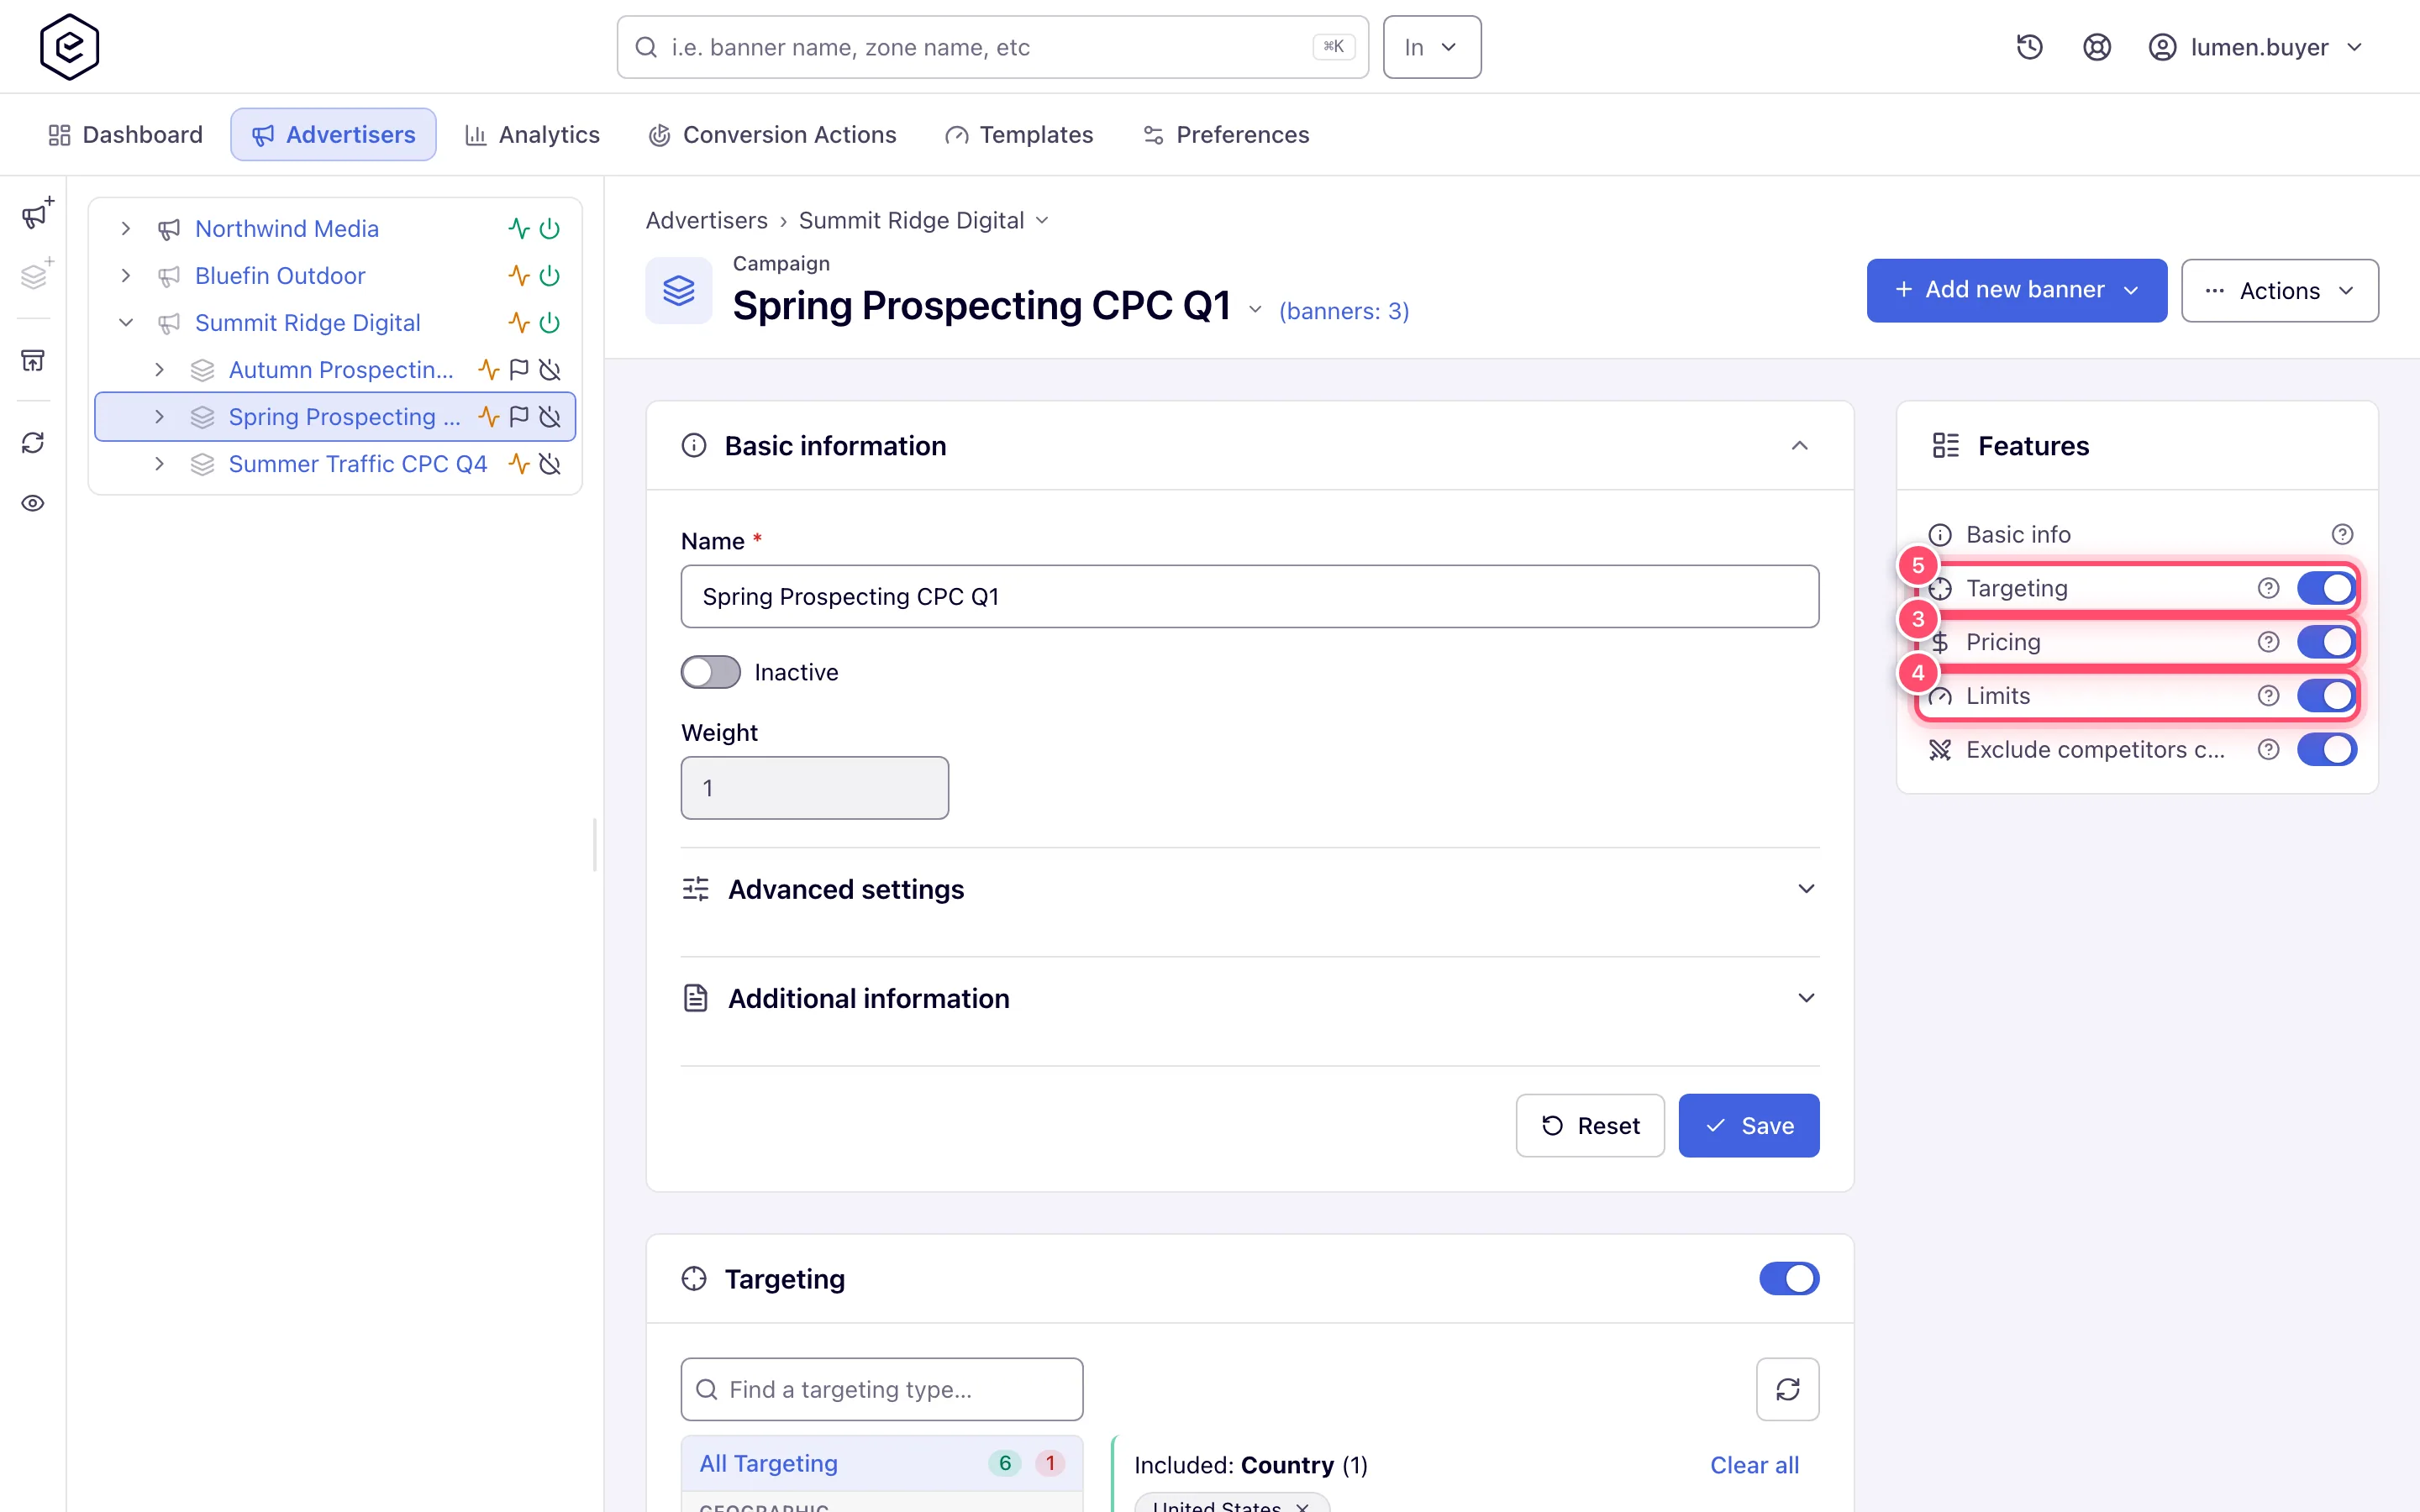
- Narrow the audience in the Targeting card — country, browser, operating system, time of day and the other types your role offers. Leave it empty to reach everyone. See Add targeting.
- Add the creative: click Add new banner in the campaign header and pick Add banner for Site Placement. The Banner type is Local File: upload the image, fill in Name, Ad unit and URL — the click-through landing page, required — then Save. Success: “Banner saved”.
- Ask your network manager to link the creative to placements. The stock role has no linking card, so a creative serves only once the network has linked it, by hand or through its matching rules. If you need conversion tracking, ask them in the same message to attach your conversion action to the campaign and send you its tracking code. What to do with the code once you have it: Got a code from your network manager?
- Sanity-check the setup: on the campaign page open the Actions menu and choose Run diagnostics. It checks the campaign’s limits, pricing, targeting and capping, and each creative’s size and links, and lists anything that blocks delivery.
- Read the results:
- Account → Dashboard — the advertiser dashboard. One period control in the page header sets the window for the Charges, Impressions, eCPM, Clicks and CTR tiles, the trend chart and the Advertiser/Campaign/Banner tree. Charges is your spend. It starts on Today; Compare with previous period adds the preceding window of the same length.
- Account → Analytics — run a General report grouped by Campaign or Banner and click Run report. Save the set-up, and schedule it if you want it by e-mail (Saved and scheduled reports).
Options and fields
| Field | Where | What it does |
|---|---|---|
| Pricing type | campaign → Pricing | CPM or CPC on the stock role; what you pay for. |
| Start date / End date | campaign → Limits | The flight. Outside it the campaign does not serve. |
| Budget | campaign → Limits | Daily and total spend caps; read-only on the stock role. |
| Targeting | advertiser, campaign, banner | Who may see the ads; the three levels stack. |
| Ad unit | banner | The creative’s dimensions; required for Local File banners. |
Full detail: Pricing, Limits, Add targeting.
Corner cases and gotchas
Corner case: no linked inventory, no delivery. If Run diagnostics reports no linked placements, your creative has nowhere to run yet — contact your network manager rather than re-editing the creative.
Corner case: a total budget ends delivery until the campaign is switched back on. When a total cap fills, the campaign’s own switch turns Off, and it stays off after the cap is raised. Daily caps only pause. If a running campaign went quiet, check the Limits card and the campaign’s Active switch before anything else.
Corner case: your network may review creatives before they run. If yours does, a new or edited creative carries a Pending badge, and depending on the setting it either keeps serving or stays off until approved. If a campaign delivers nothing on day one, check the creative’s switch and ask the network whether it is in review.
Corner case: an advertiser shared with you as Can view opens fully and reports fully, but it carries a Read-only marker and no Save button. Ask your network manager to raise it to Can edit if you need to run campaigns on it yourself.
Corner case: on a demo account every step here works the same way, against demo data. The charges shown are not real billing.
Per-role notes
- Advertiser (stock role): frequency capping, budget and volume limits, other creative kinds, linking, conversion tracking code and sharing are not included; see What your network controls.
- Read-only (Can view) and demo accounts: see the corner cases above.
- Sending numbers to a client: schedule a saved report to e-mail them (Schedule recurring emails).