
Use case: run a white-label self-serve ad network
Turn your Epom network into a branded product — your domain and logo, self-serve signup for publishers and advertisers, roles that keep customers in their lane, and referral-driven growth.
You resell ad serving under your own brand: customers sign up on your domain, see your logo and colors, manage only their own inventory or campaigns, and you keep the network’s controls (pricing, moderation, payouts).
Who this is for
Network administrators (admin area access) — every step below is an administrator step. Setting this up touches White Label preferences, roles, and finances; day-2 operations reuse the normal account area. Customers who want something changed ask their network manager.
Prerequisites
- Your serving and UI domain(s) pointed at the platform.
- A logo pack and decided brand colors.
- An administrator account allowed to edit the roles involved, for the role steps: a save for any other role is refused with Access denied. Ask Epom support or your account manager to extend it (see Users and roles).
Steps
- Brand it. Admin → Ad serving → White label preferences. On the Main tab set Company name, Support page URL, Terms of use URL, the Default language (plus Allow language change on public pages and Allow language change for Logged-in users for the language switchers) and, if you serve from your own domain, the System default ad-serving domain. The Images tab holds the logos and favicon. The Appearance tab holds the colour theme — pick one under Preset themes or use Fine-tune colours for Light and Dark. The whole SPA re-tints; each user still picks a light or dark colour theme on top.
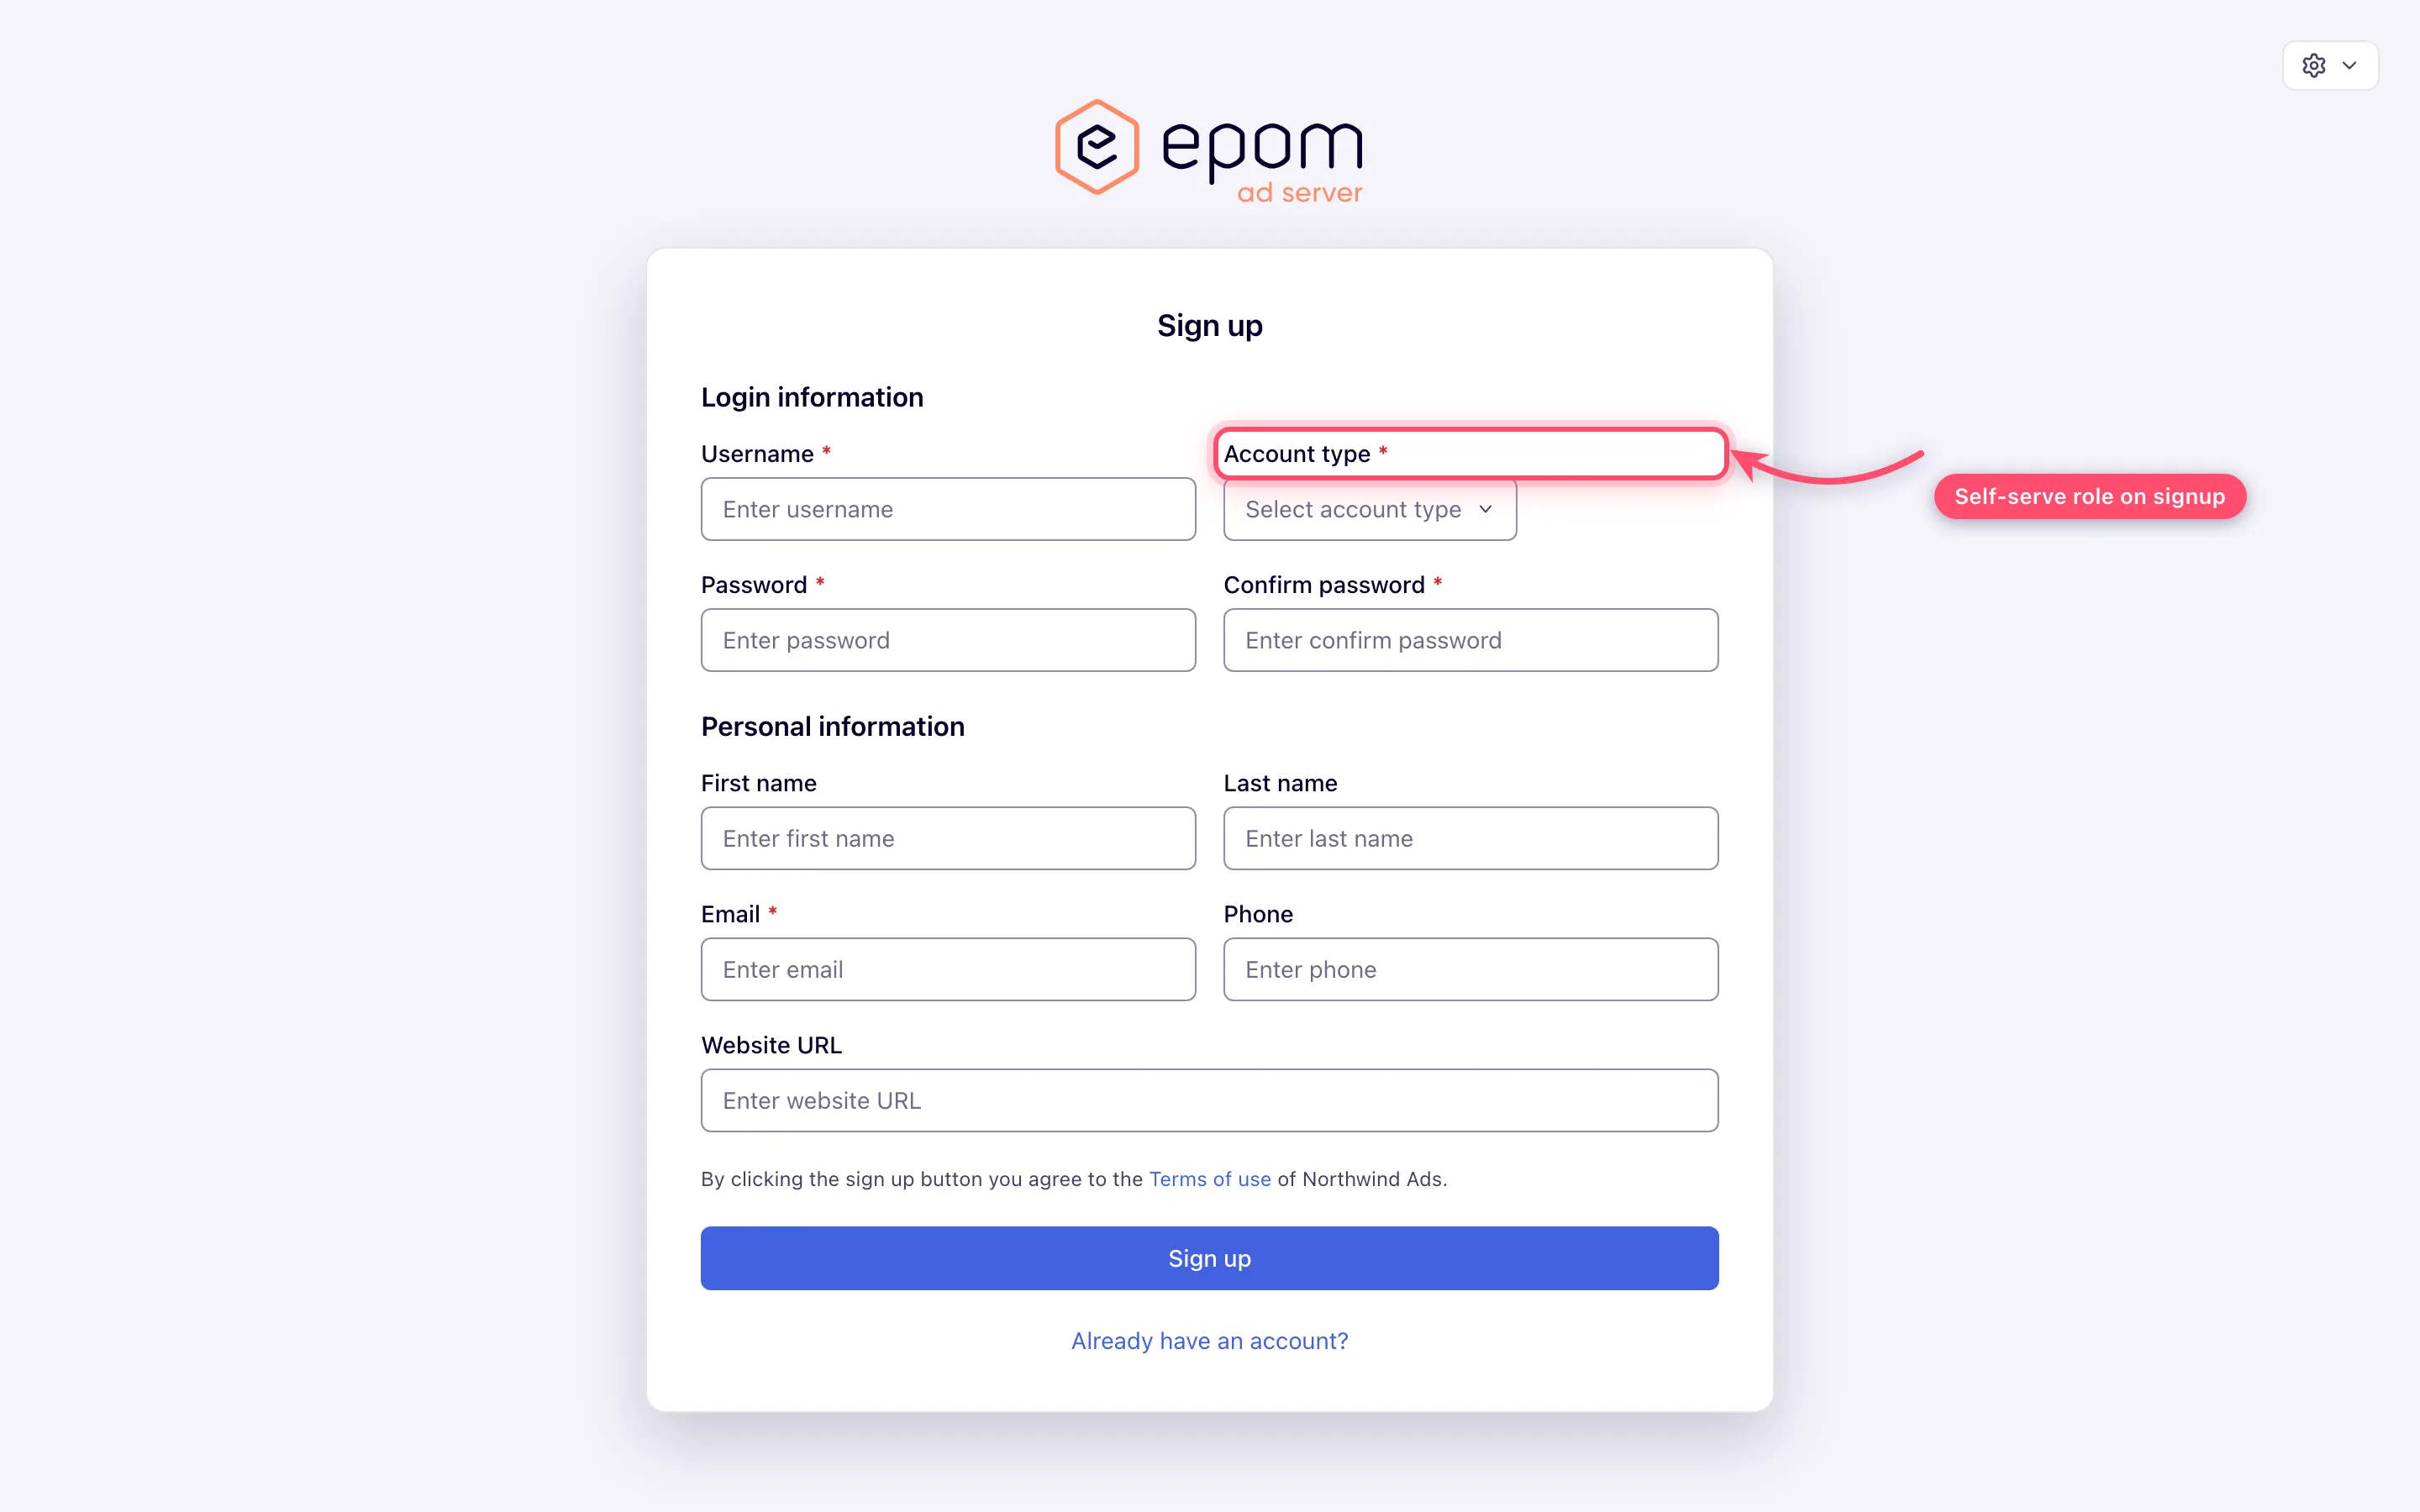
- Open (or gate) the door. The built-in sign-up form lists as Account type exactly the
roles that have the Sign-up permission enabled, so tick it in Admin → Users & access →
User roles & permissions on the role you want customers to land in, and leave it off
elsewhere. There is no separate self-serve role, and the sign-up page carries your branding
automatically. Hide sign-up on the Main tab only hides the link on the classic
sign-in page; Sign-up URL points visitors at a page of your own instead.
- Fence the customers with roles. In User roles & permissions, add a Client-Publisher role (inventory side only) and a Client-Advertiser role (demand side only) — the names are yours — with the entity grants (View, Update, Delete) set to SHARED rather than ALL, so each customer sees only what is shared with them. What a tab or card exposes follows these grants automatically — see Roles, permissions, and sharing.
- Moderate what they create. Banner moderation is switched on per role: give the customers’ role Soft Banners Moderation or Banners Moderation With Deactivation, and give your reviewers Banners Approval (the same applies to Sites Approval). All four are admin-only permissions, granted under Admin → Users & access → Admin roles & permissions; if nobody in your network can open that page, ask Epom support or your account manager. For sites, set Site default status to Pending under Admin → Ad serving → Inventory & campaigns settings. Add a Creative scan provider on the DSP partner if third-party demand is plugged in (moderation guide).
- Set the money flow. Pricing on campaigns sets what advertisers pay and Revenue share or Pricing on sites and placements sets what publishers earn; your margin is the difference. Account → Billing records advertiser payments and publisher balances; it is an account page, so use a network-side login for it, not an admin-role one (finances guide).
- Grow it. Enable the referral program by giving a role Manage Referral Program in User roles & permissions; its users then see a Referral program tab with their referral link, and the commission terms and payouts are run from Admin → Billing & fees → Referral program billing.
Options and fields
For the full field-by-field reference of each step, use the linked deep guides — this page is the assembly order, not the field list.
Corner cases and gotchas
Corner case: the white-label theme is a network-wide setting your network administrator controls; a user’s personal dark-mode toggle layers on top of it. If a customer reports “wrong colors”, check both layers before editing the theme.
Corner case: role fencing is only as tight as the entity grants — a role with View = ALL on campaigns sees other customers’ campaigns even with every other permission off. Audit new roles with a throwaway user before onboarding real customers.
Note: the UI-version switch (legacy ↔ new interface) is also a white-label setting (Default UI version and Allow UI version switch on public pages on the Main tab) — decide what your customers see by default before launch, not after.
Per-role notes
- Network administrator: the white-label page, the moderation settings and referral billing are admin-area pages. Account → Billing is not reachable from an admin-role session, so step 5 needs a network-side login.
- Customers (publisher and advertiser roles): they see only what their role’s grants and shares allow, and they appear on the sign-up form only if their role has Sign-up enabled.